Tennis courts can be utilised all-year and, both day and night. To extend the hours of play beyond daylight hours the facilities need to be illuminated.
The benefits of lighting tennis courts include:
- Greater opportunities for players to access courts;
- Improved financial viability for the tennis centre or club.
Lighting Is now an integral asset for most tennis centres. In fact, in some regions of Australia, lighting is considered essential, due to the climatic conditions at various times of the year.
Australia’s ideal climate means tennis has one of the highest night hours-of-use per year of any outdoor sport; with many courts used for as many as 1,700-hours per year.
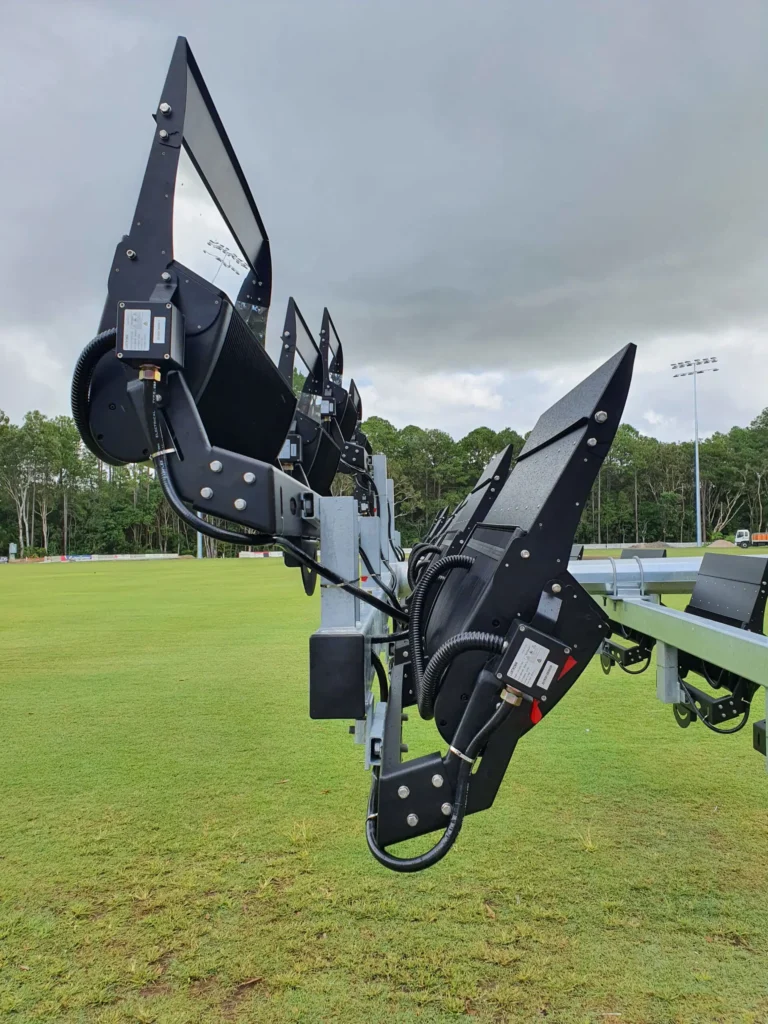
Typically, tennis courts have been illuminated by metal halide, and sometimes linear fluorescents, but there have been some exciting advancements in sports lighting technology, that provide significant benefits to the end-user and facilities manager alike.
Since 2009, LED has proven itself as a viable alternative, and is now considered the norm for all new installs, as well as retrofit projects. With a large number of highly variable LED products on the market, the challenge for the facilities managers is to choose a quality product that delivers as promised.

Tennis or Sports Club Lighting Project Considerations
Essentially, the decision-making process should initially consider the existing and proposed infrastructure, such as:
- What are the limits of the existing electrical supply;
- Is three-phase supply available (some luminaires require this);
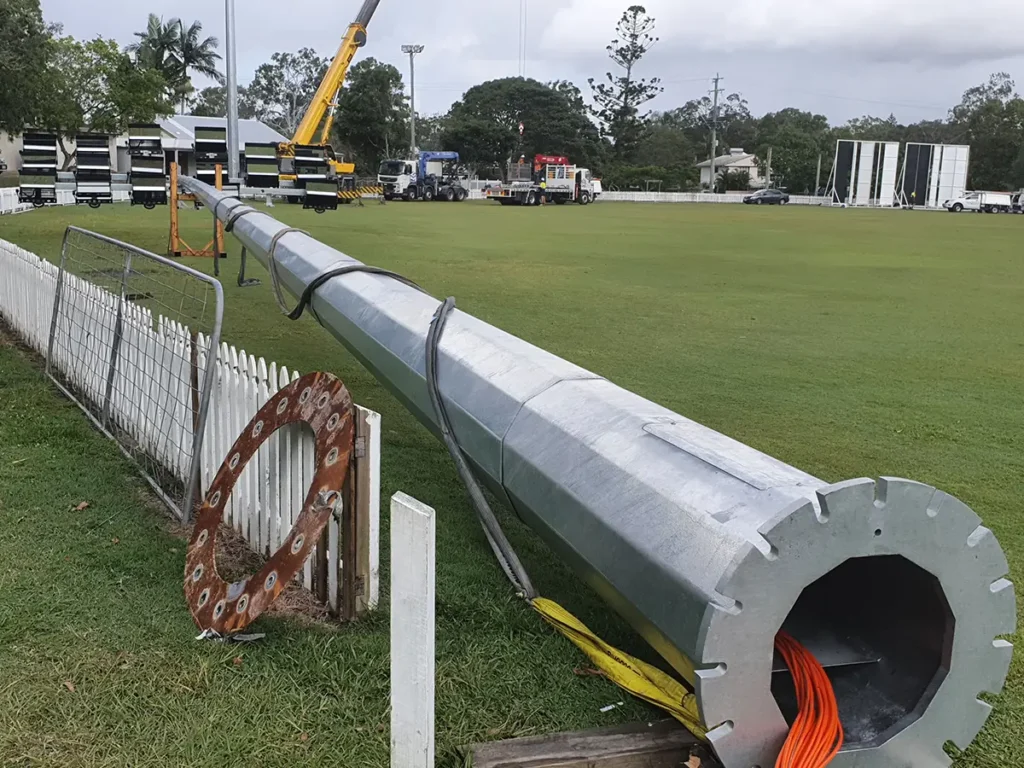
- Are the poles in satisfactory condition or do they need to be checked;
- Do the poles need to be repositioned;
- Does a lighting change require a development application or similar?
When it comes to evaluating the lighting options, it is important to consider all aspects of the physical light as well as whether it is fit-for-purpose:
Step 1 – What Are Your Needs Or Requirements?
- Plan for the future – the luminaires you purchase should last at least 10-years;
- Ensure your choice complies with the relevant Australian Standard – 2.1 Lighting for Outdoor Tennis;
- Consider your neighbours – lighting can often be a nuisance to some people. Australian Standard AS4282 ‘Control of Obtrusive Effects of Light’ provides good guidance.
Step 2 – Identify Quality Lighting Suppliers
- Demonstrated performance at other similar sites – Can the supplier provide referees for local installations over a number of years?
- Do they have the required approvals and certifications to sell the luminaires in Australia?
- Are the luminaires dimmable? This can save tennis clubs a considerable amounts of money;
- Can the luminaires be controlled via a Lighting Control Management System (LCMS), and is the system:
- Wired control (consider additional cost for control cables); or
- Wireless (no control cables required); and
- Who supports the LCMS should there be any issues in the future?
- What is the Correlated Colour Temperature (CCT) – 4000K to 5500K is considered optimal;
- Is instant restriking possible?
- Can the luminaires be fitted with spill shields if there is a need to reduce spill light?
- Can the supplier provide technical data in order to undertake a ROI calculation?
- Warranty terms and conditions – does it cover the full cost of replacement, and stipulate maintenance/ servicing intervals?
- Lead times for luminaires once ordered – some suppliers can have lead times in excess of 10-weeks.
Step 3 – Get A Design
- Characteristics of a quality lighting design include:
- Reference to compliance with the relevant Australian Standard (in this instance AS2560.2.1);
- Pole positions clearly identified, and compliant to AS2560.2.1;
- Clearly detailed calculation grids for the Principle Play Are (PPA) and the Total Play Area (TPA);
- Clearly identified Uniformity calculations for both Min/Ave, and Min/Max;
- Clearly marked Glare Rating calculations at the required observer positions;
- Spill light calculations according to AS4282 ‘Control of Obtrusive Effects of Light’
- Use of a Maintenance Factor (MF) or Lumen Loss Factor (LLF), with a detailed justification of the calculation Methodology;
- Physical characteristics of luminaire, such as:
- Mass (kg);
- Sail Area or windage (m2);
- Voltage;
- Current (Amps);
- Correlated Colour Temperature (CCT);
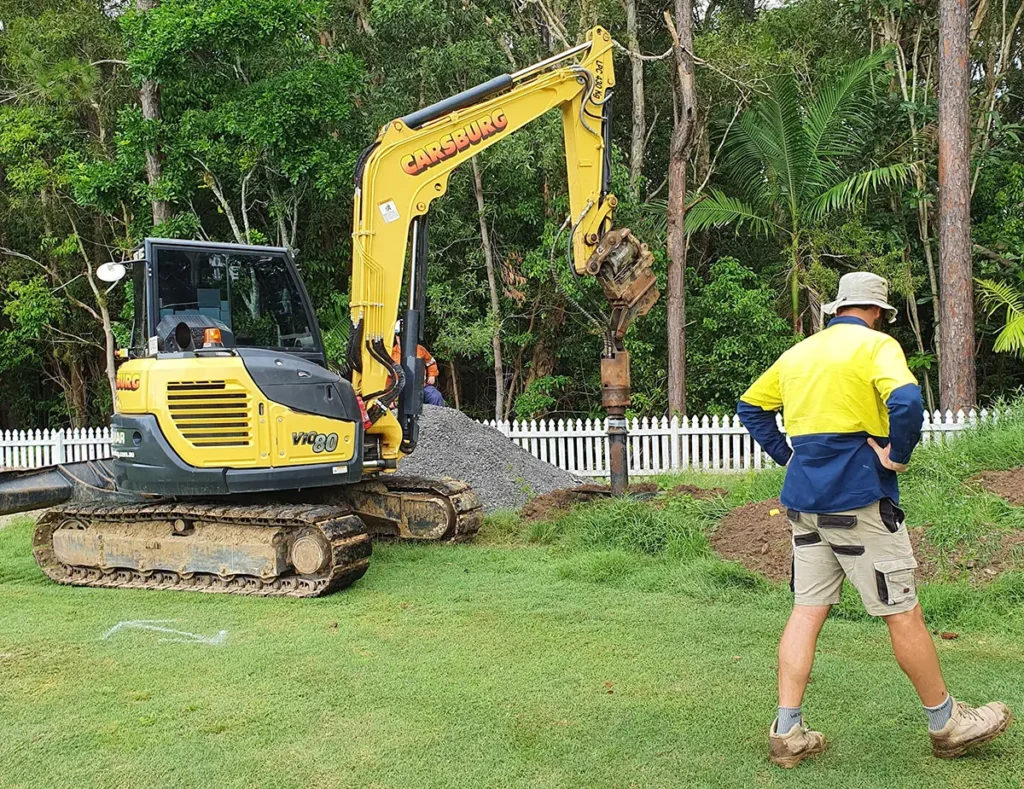
- If new poles are required, ensure you consider the following:
- Soil conditions;
- Physical characteristics of the luminaires;
- Crossarm or outreach length;
- Obstructions such as underground services and trees that may be protected under government legislation or local by-laws;
- Local Height restrictions.
Step 4 – Project Planning
- Is there funding available, and what are the requirements?
- Does the lighting design need to be independently certified (some councils and funding bodies require this)?
- Does the pole height trigger a requirement for a development application?
- Does the power supply need to be upgraded?
- Is the electrical system compliant with current regulations and standards in your state?
- What is the lead time for both the luminaires and poles?
- Does the electrician need to undertake any preliminary works before the luminaires and poles are installed?
- Is data cabling required for the Lighting Control Management System (LCMS), and where is the system to be placed?
- Work with the LCMS supplier to ensure the required functionality is incorporated into the system design.
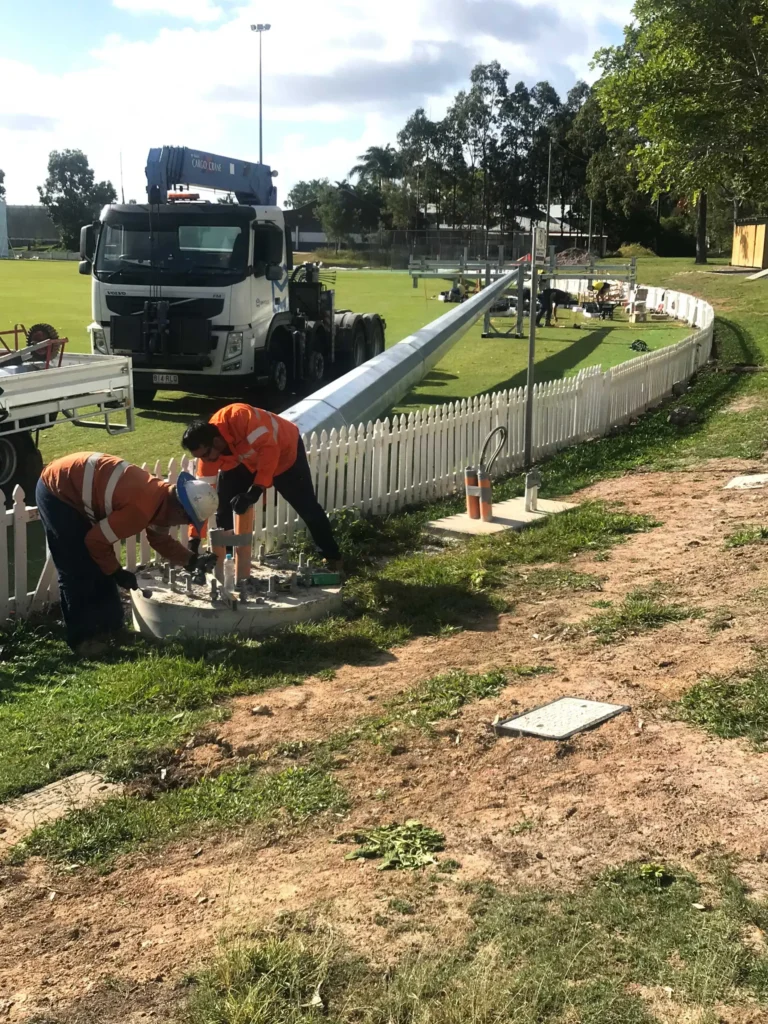
Step 5 – Installation
- Ensure all preliminary electrical and data work is undertaken prior to footings being poured;
- Check luminaires for damage before installing. Sometimes things get damaged during transport;
- Mark luminaire aiming points on the court or field;
- Test the LCMS to ensure functionality is correct;
- Undertake a court or field Lux audit. Keep in mind that the average lux levels should be higher than those indicated in the design, due to the use of a MF or LLF;
- Ensure all warranty information (including designs and product serial numbers) and other project documentation is retained in a dedicated project folder, for future reference.